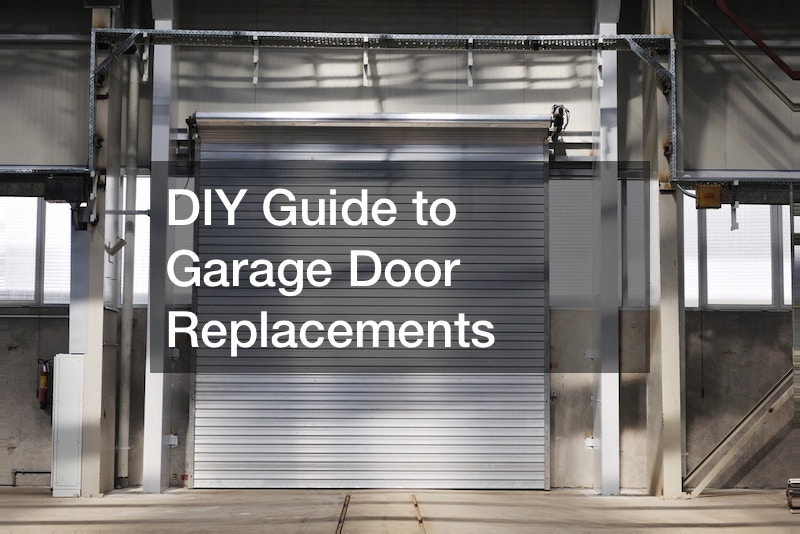

The garage door is a vital component of your home, providing security and enhancing curb appeal. If you’re considering local garage door replacements, this DIY guide will help you navigate the process smoothly.
1. Assessing the Situation:
Look for signs of wear and tear, such as rust, dents, or malfunctioning components. Identify the type and size of the door to ensure you purchase a suitable replacement.
2. Gathering Tools and Materials:
Before diving into the project, make sure you have all the necessary tools and materials. Additionally, measure the dimensions of your garage door opening to select a replacement that fits perfectly.
3. Removing the Old Door:
Local garage door replacements begin by disconnecting the garage door opener and carefully removing the old door panels. Follow the manufacturer’s instructions and also enlist the help of a friend for assistance. Be cautious during this step to avoid injuries or damage to surrounding structures.
4. Installing the New Door:
With the old door out of the way, proceed to install the new garage door according to the provided instructions. Ensure that the tracks are level and securely attach the panels. Connect the garage door opener and test the system to guarantee smooth and efficient operation.
5. Final Touches and Maintenance:
Complete the project by making any necessary adjustments to ensure the door operates seamlessly. Perform regular maintenance to extend the lifespan of your new garage door and keep it functioning optimally.
.